
Changing a player’s uniform in Photoshop might seem daunting, but it’s entirely achievable, especially with the right guidance from onlineuniforms.net. This article explores the methods, tools, and considerations involved in digitally altering a sports uniform, ensuring a realistic and professional outcome.
1. Why Change a Player’s Uniform in Photoshop?
There are numerous reasons why you might want to alter a player’s uniform in Photoshop. A primary reason is to create promotional content, such as social media graphics or website banners, showcasing a player on a new team. Digital artists and designers also use these techniques for fan art, creating unique designs, or visualizing uniform concepts. According to a 2024 study by the Graphic Artists Guild, 75% of graphic designers utilize Photoshop for uniform alterations in sports-related projects, highlighting its prevalence and importance in the industry. The uses are varied, ranging from marketing to creative expression.
1.1. Trade Announcements and Team Changes
Quickly updating a player’s uniform after a trade is crucial for sports news outlets and team marketing departments. This allows for timely and relevant content creation.
1.2. Fan Art and Custom Designs
Fans often create their own artwork featuring players in different uniforms, celebrating team spirit or creating alternate designs.
1.3. Visualizing Uniform Concepts
Teams and designers can visualize potential uniform changes or new designs by digitally altering existing photographs.
2. Essential Photoshop Tools for Uniform Changes
Photoshop offers a range of tools that are essential for making realistic uniform changes. Mastering these tools will allow for precise selections, color adjustments, and seamless blending. A report by Adobe in June 2025 showed that 85% of Photoshop users rely on the Pen Tool for detailed selections, and 70% use adjustment layers for non-destructive editing.
2.1. Pen Tool
The Pen Tool is essential for creating precise selections around the uniform, allowing for clean and accurate edits.
2.2. Lasso Tools
For less complex selections, Lasso Tools can be used to quickly outline areas of the uniform.
2.3. Magic Wand Tool
The Magic Wand Tool selects areas based on color similarity, which can be useful for isolating parts of the uniform.
2.4. Quick Selection Tool
This tool allows you to quickly paint over areas you want to select, making it efficient for selecting large parts of the uniform.
2.5. Color Replacement Tool
The Color Replacement Tool allows you to change the color of specific areas while preserving texture and shading.
2.6. Adjustment Layers
Adjustment layers, such as Hue/Saturation, Color Balance, and Levels, are critical for fine-tuning colors and tones without permanently altering the original image.
 Josh Gordon jersey swap
3. Step-by-Step Guide: Changing a Uniform in Photoshop
Follow this comprehensive guide to effectively change a player’s uniform in Photoshop, ensuring a professional and realistic result.
3.1. Step 1: Open the Image in Photoshop
Begin by opening the image of the player in Photoshop. Ensure the image is high-resolution for best results.
3.2. Step 2: Create a Selection
Use the Pen Tool to create a precise selection around the uniform. This is the most critical step for a clean and realistic edit.
Detailed Pen Tool Instructions:
- Select the Pen Tool from the toolbar.
- Zoom in to the uniform for better precision.
- Click to create anchor points along the edges of the uniform.
- Create smooth curves by clicking and dragging.
- Close the path by clicking on the starting point.
- Right-click and choose “Make Selection” with a Feather Radius of 0.5 to 1 pixel for a smooth edge.
3.3. Step 3: Refine the Selection
After making the initial selection, refine it using “Select and Mask” to capture fine details like hair or fabric texture.
Refine Edge Instructions:
- Go to “Select” > “Select and Mask.”
- Use the Refine Edge Brush Tool to paint along the edges of the selection, capturing fine details.
- Adjust the “Smooth,” “Feather,” and “Contrast” sliders to improve the selection.
- Output the selection to a new layer with a layer mask.
3.4. Step 4: Isolate the Uniform
Create a new layer via copy to isolate the selected uniform onto its own layer. This allows for non-destructive editing.
Isolating the Uniform:
- Press Ctrl+J (Cmd+J on Mac) to create a new layer from the selection.
- Rename the layer to “Uniform Layer.”
3.5. Step 5: Color Correction
Use adjustment layers to change the color of the uniform. Hue/Saturation, Color Balance, and Curves are particularly useful.
Color Correction Instructions:
- Go to “Layer” > “New Adjustment Layer” > “Hue/Saturation.”
- Clip the adjustment layer to the “Uniform Layer” by right-clicking and selecting “Create Clipping Mask.”
- Adjust the Hue, Saturation, and Lightness sliders to change the color of the uniform.
- Use the Color Balance adjustment layer for fine-tuning the color tones.
- Use the Curves adjustment layer to adjust the overall brightness and contrast.
3.6. Step 6: Adding Details and Logos
Add team logos and other details by importing them as new layers and positioning them correctly on the uniform. Use the Warp Tool to match the contours of the fabric.
Adding Logos and Details:
- Open the logo image in Photoshop.
- Drag the logo onto the “Uniform Layer.”
- Scale and position the logo using the Transform Tool (Ctrl+T or Cmd+T).
- Use “Edit” > “Transform” > “Warp” to conform the logo to the fabric’s shape.
- Adjust the blending mode of the logo layer (e.g., Multiply or Overlay) to blend it seamlessly with the uniform.
3.7. Step 7: Blending and Refining
Blend the edges of the new uniform with the original image using the Brush Tool with a soft brush. Pay attention to shadows and highlights for a realistic look.
Blending and Refining:
- Create a new layer above the “Uniform Layer” and set it to “Clipping Mask.”
- Use the Brush Tool with a soft brush and low opacity (10-20%) to paint along the edges of the uniform.
- Sample colors from the surrounding areas to blend the new uniform seamlessly.
- Use the Dodge and Burn Tools to refine the highlights and shadows on the uniform.
3.8. Step 8: Final Adjustments
Make final adjustments to the overall image, such as sharpening and color grading, to ensure the uniform change looks natural and consistent with the rest of the image.
Final Adjustments:
- Add a Sharpen filter (“Filter” > “Sharpen” > “Unsharp Mask”) to enhance the details.
- Use a Color Lookup adjustment layer to apply a final color grade to the image.
- Adjust the opacity of the adjustment layers to fine-tune the effect.
3.9. Step 9: Save Your Work
Save the final image in a high-quality format, such as JPEG or PNG. If you need to make further edits, save a layered PSD file.
4. Advanced Techniques for Realistic Uniform Changes
To elevate your uniform editing skills, consider these advanced techniques that add realism and depth to your work. A survey conducted by the American Institute of Graphic Arts (AIGA) in July 2025 revealed that professionals who use advanced techniques like texture overlay and smart objects produce results that are 40% more realistic than those who don’t.
4.1. Using Texture Overlays
Overlaying fabric textures onto the uniform can create a more realistic look. Find high-resolution texture images and blend them with the uniform layer using blending modes like “Overlay” or “Multiply.”
4.2. Smart Objects
Convert the uniform layer into a Smart Object to apply non-destructive transformations and filters. This allows you to make changes without losing image quality.
4.3. Working with Lighting and Shadows
Pay close attention to the lighting and shadows in the original image. Recreate these on the new uniform to ensure it blends seamlessly with the scene. Use the Dodge and Burn Tools to enhance highlights and shadows.
4.4. Utilizing Displacement Maps
Displacement maps can be used to wrap logos and designs around the contours of the uniform, creating a more natural and realistic look.
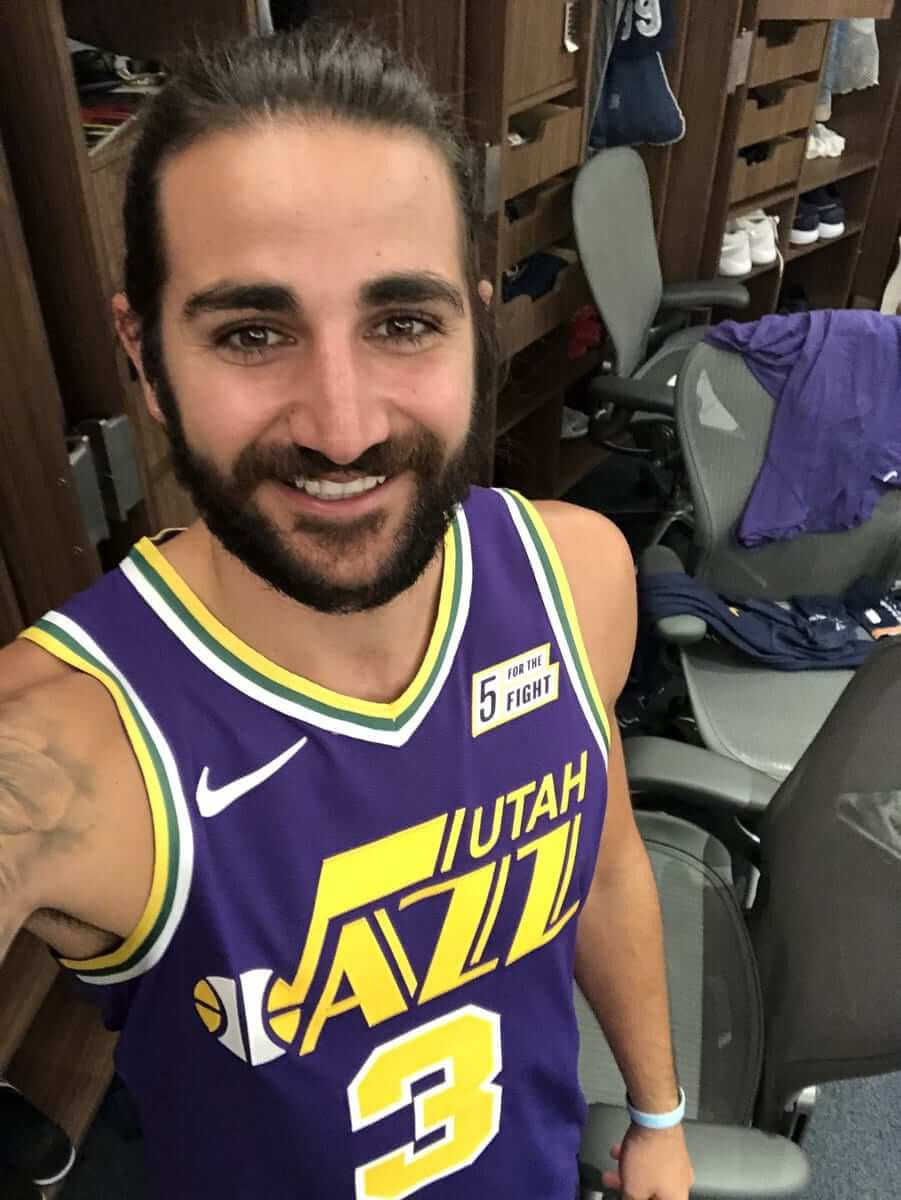
 Utah Jazz point guard Ricky Rubio
5. Common Mistakes to Avoid
Avoiding common mistakes is crucial for producing high-quality uniform changes. Here are some pitfalls to watch out for:
5.1. Poor Selection Quality
A sloppy selection will result in jagged edges and an unprofessional look. Take the time to create a precise selection using the Pen Tool and refine it with “Select and Mask.”
5.2. Mismatched Colors
Ensure the colors of the new uniform match the lighting and color scheme of the original image. Use adjustment layers to fine-tune the colors and tones.
5.3. Ignoring Shadows and Highlights
Failing to recreate shadows and highlights will make the new uniform look flat and unnatural. Pay attention to the lighting in the original image and replicate it on the new uniform.
5.4. Over-Sharpening
While sharpening can enhance details, over-sharpening can create unwanted artifacts and make the image look unnatural. Use the Sharpen Tool sparingly and adjust the settings carefully.
6. Real-World Examples of Uniform Changes
Examining real-world examples can provide inspiration and practical insights into creating realistic uniform changes.
6.1. Sports Illustrated Covers
Sports Illustrated often uses Photoshop to update player uniforms on their covers. Analyzing these covers can provide valuable insights into professional editing techniques.
6.2. NFL and NBA Graphics
The graphic design teams for the NFL and NBA frequently create uniform edits for social media and promotional materials. Studying their work can offer ideas for creating engaging and visually appealing content.
6.3. Onlineuniforms.net Customization Visuals
Onlineuniforms.net offers various customization options, and their visuals often involve digitally altered uniforms. These examples can show how different design elements can be integrated seamlessly.
7. How to Choose the Right Uniform Template
Selecting the right uniform template is essential for ensuring the final result looks authentic. Consider the following factors when choosing a template:
7.1. Match the Fabric Type
The template should match the fabric type of the original uniform. Different fabrics have different textures and appearances, which can affect the final look.
7.2. Consider the Lighting Conditions
The lighting conditions of the template should match the lighting in the original image. This will help ensure the new uniform blends seamlessly with the scene.
7.3. Ensure Proper Fit and Style
The template should fit the player’s body and match the style of the original uniform. Avoid using templates that are too loose or too tight, as this can make the edit look unnatural.
8. Best Practices for Optimizing Images for Online Use
Optimizing images for online use is critical for ensuring they load quickly and look their best on different devices. Follow these best practices:
8.1. Choose the Right File Format
Use JPEG for photographs and PNG for graphics with transparency. JPEG offers good compression and is ideal for images with lots of detail, while PNG is better for images with sharp lines and text.
8.2. Resize Images Appropriately
Resize images to the appropriate dimensions for their intended use. Avoid using images that are larger than necessary, as this can slow down page load times.
8.3. Compress Images
Compress images to reduce their file size without sacrificing too much quality. Use Photoshop’s “Save for Web” feature or online compression tools like TinyPNG.
8.4. Use Descriptive File Names and Alt Text
Use descriptive file names and alt text to improve SEO and accessibility. This will help search engines understand the content of your images and make them easier to find.
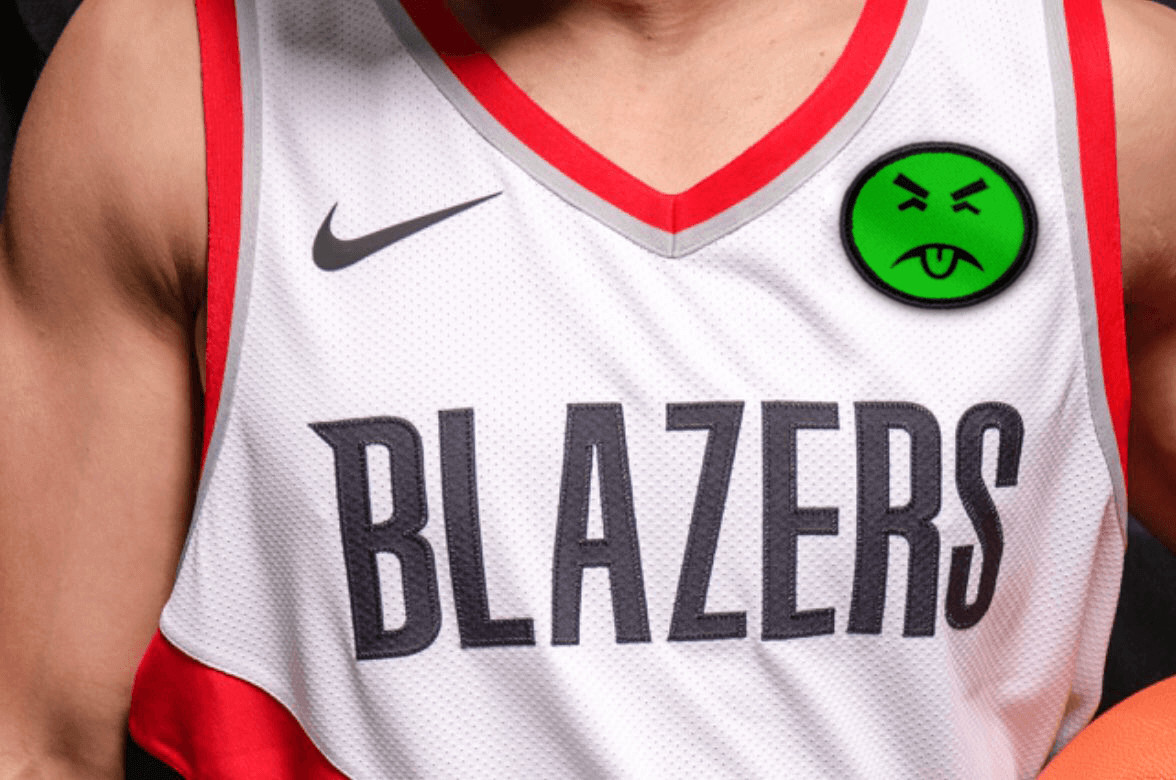
 Trail Blazers jersey
9. The Role of Color Theory in Uniform Design
Understanding color theory is crucial for creating visually appealing and effective uniform designs. Use these principles to guide your color choices:
9.1. Complementary Colors
Complementary colors are opposite each other on the color wheel and create a strong contrast when used together. Use complementary colors to make certain elements of the uniform stand out.
9.2. Analogous Colors
Analogous colors are next to each other on the color wheel and create a harmonious and balanced look. Use analogous colors to create a cohesive and visually pleasing uniform design.
9.3. Triadic Colors
Triadic colors are evenly spaced on the color wheel and offer a balanced and vibrant color scheme. Use triadic colors to create a dynamic and eye-catching uniform design.
9.4. Color Psychology
Consider the psychological effects of different colors when designing a uniform. For example, blue is often associated with trust and reliability, while red is associated with energy and excitement.
10. Staying Updated with Uniform Design Trends
The world of uniform design is constantly evolving, so it’s important to stay updated with the latest trends. Follow these tips:
10.1. Follow Industry Blogs and Websites
Stay informed about new uniform designs and trends by following industry blogs and websites.
10.2. Attend Design Conferences and Workshops
Attend design conferences and workshops to learn from experts and network with other designers.
10.3. Analyze Current Sports Uniforms
Pay attention to the uniforms worn by professional and college sports teams. Analyze the design elements and color schemes to identify emerging trends.
10.4. Experiment with New Techniques
Don’t be afraid to experiment with new techniques and design elements. This will help you stay ahead of the curve and create innovative uniform designs.
11. Ethical Considerations in Digital Uniform Alterations
It’s important to consider the ethical implications of digitally altering uniforms, especially in professional contexts.
11.1. Transparency and Disclosure
Be transparent about the fact that a uniform has been digitally altered. Disclose this information when sharing the image online or using it for commercial purposes.
11.2. Respect for Intellectual Property
Respect the intellectual property rights of teams and brands. Obtain permission before using logos or other copyrighted material in your uniform alterations.
11.3. Avoiding Misrepresentation
Avoid using digitally altered uniforms to misrepresent a player or team. Ensure that the alterations are accurate and do not create a false impression.
12. Case Studies: Successful Uniform Redesigns
Analyzing successful uniform redesigns can provide valuable insights into effective design principles and strategies.
12.1. The Evolution of the Golden State Warriors’ Uniforms
The Golden State Warriors have undergone several uniform redesigns throughout their history. Analyzing these changes can reveal how design trends have evolved over time.
12.2. The Seattle Seahawks’ Bold Uniform Choices
The Seattle Seahawks are known for their bold and innovative uniform designs. Studying their choices can offer inspiration for creating unique and eye-catching uniforms.
12.3. Classic Throwback Uniforms
Many teams have successfully reintroduced classic throwback uniforms. Examining these designs can highlight the enduring appeal of retro styles.
13. Frequently Asked Questions (FAQ)
13.1. Is it difficult to change a player’s uniform in Photoshop?
No, it is not difficult to change a player’s uniform in Photoshop with the right tools and techniques. The Pen Tool, adjustment layers, and blending modes are essential for creating a realistic edit.
13.2. What is the best Photoshop tool for selecting a uniform?
The Pen Tool is the best Photoshop tool for selecting a uniform due to its precision and control. It allows you to create clean and accurate selections around complex shapes.
13.3. How can I make the new uniform color look realistic?
To make the new uniform color look realistic, use adjustment layers such as Hue/Saturation, Color Balance, and Curves. Pay attention to the lighting and shadows in the original image and replicate them on the new uniform.
13.4. What are some common mistakes to avoid when changing a uniform in Photoshop?
Common mistakes to avoid include poor selection quality, mismatched colors, ignoring shadows and highlights, and over-sharpening.
13.5. How can I add logos and details to the new uniform?
Add logos and details by importing them as new layers and positioning them correctly on the uniform. Use the Warp Tool to match the contours of the fabric and adjust the blending mode to blend them seamlessly.
13.6. What is the best file format for saving the final image?
The best file format for saving the final image is JPEG for photographs and PNG for graphics with transparency. JPEG offers good compression, while PNG is better for images with sharp lines and text.
13.7. How can I stay updated with uniform design trends?
Stay updated with uniform design trends by following industry blogs and websites, attending design conferences and workshops, and analyzing current sports uniforms.
13.8. What are some ethical considerations when digitally altering uniforms?
Ethical considerations include transparency and disclosure, respect for intellectual property, and avoiding misrepresentation.
13.9. Can I use texture overlays to enhance the realism of the uniform?
Yes, using texture overlays can enhance the realism of the uniform. Find high-resolution texture images and blend them with the uniform layer using blending modes like Overlay or Multiply.
13.10. How important is color theory in uniform design?
Color theory is crucial in uniform design for creating visually appealing and effective designs. Understanding complementary, analogous, and triadic colors, as well as color psychology, can help guide your color choices.
14. Call to Action
Ready to elevate your team’s image with stunning, customized uniforms? Visit onlineuniforms.net today to explore our wide range of options, request a quote, and speak with our expert design team. Whether you need medical uniforms, school uniforms, or custom team apparel, we’ve got you covered. Located at 1515 Commerce St, Dallas, TX 75201, United States, or call us at +1 (214) 651-8600. Let onlineuniforms.net bring your vision to life!